Garment shrinkage testing measures how a finished garment changes after a controlled wash-and-dry cycle. For denim and hoodies, the useful result is not one vague “shrinkage rate.” A brand should compare specific measurements before and after laundering, record change by direction and component, and decide whether the sample still meets the intended fit before bulk cutting.
This is a production decision, not just a laboratory checkbox. A hoodie can keep an acceptable chest width but lose too much body length. Jeans can remain comfortable at the waist while the inseam shortens or the leg twists. A clear test plan turns those risks into measurable approval points.
What garment shrinkage testing tells a brand
Shrinkage is a decrease in a textile or garment dimension after an applied condition such as washing and drying. Growth is the opposite: the measurement increases. Dimensional change should be recorded separately for length and width because fabric construction, finishing, sewing tension, rib, lining and wash treatment can behave differently.
The AATCC TM150 method is designed to determine dimensional changes in garments after home laundering. ISO 5077 specifies how to determine dimensional change in fabrics, garments and other textile articles when combined with specified washing and drying procedures. These standards define controlled methods; your brand still needs a product-specific acceptance specification.
Fabric testing and garment testing answer different questions
| Test level | What it isolates | Best production use | What it can miss |
|---|---|---|---|
| Fabric-level dimensional change | How the textile changes in length and width | Fabric selection, finishing decisions and pattern allowance before cutting | Effects from seams, thread, rib, lining, pockets and garment construction |
| Finished-garment wash test | How the assembled product changes under the intended care method | Fit approval, care-label support and bulk-production release | Variation between bulk fabric lots if only one early sample is tested |
For a new denim or heavyweight hoodie program, use both levels when the risk justifies it. Fabric data informs the pattern; a finished-garment test verifies the complete product.
How to run a garment shrinkage test before bulk production
1. Define the exact wash and dry condition
Write the condition before testing: machine or hand wash, water temperature, cycle, detergent, drying method, drying temperature and number of cycles. The method should represent the care instruction you intend to give the customer or a formally agreed test standard. Changing from line drying to tumble drying can change the result, so “wash test” is not a complete instruction.
For products sold in the United States, the FTC Care Labeling Rule guidance says manufacturers and importers need reliable evidence to support care instructions and warnings. Testing should therefore match the claim the label will make.
2. Condition and identify the sample
Record the style, size, sample stage, fabric lot or roll reference, color, wash formula, trims and test date. Let the garment return to an agreed condition before the first measurement. A test report without sample identity is difficult to apply to later bulk production.
3. Measure fixed points before washing
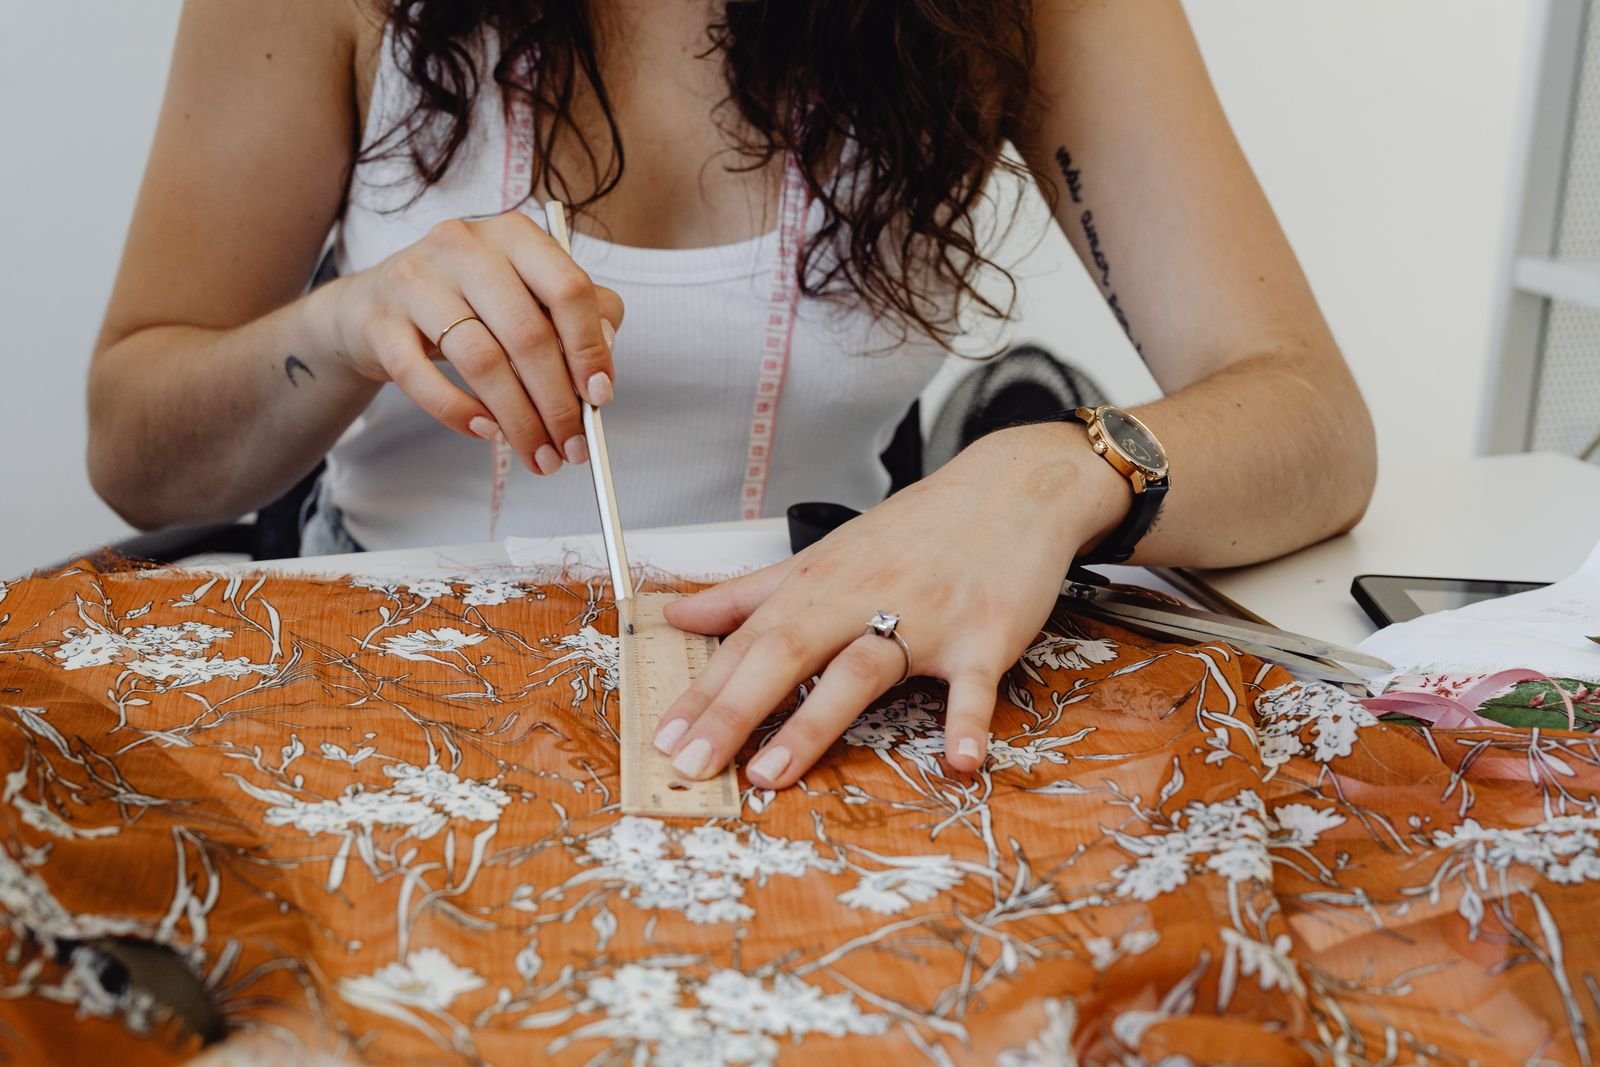
Lay the garment flat without stretching it. Use the same measurement method and the same points of measure used in the tech pack. Take photographs if a measurement location could be interpreted in more than one way. Record to a consistent precision instead of rounding early.
4. Launder and dry consistently
Follow the selected method exactly. Do not rescue a failing result by changing the drying condition after the test begins. When an aesthetic garment wash is part of the product, keep that production wash separate from the later consumer-care test in the report: one creates the finish; the other predicts dimensional behavior during use.
5. Remeasure and calculate dimensional change
Use the same operator method, surface and points of measure. A practical buyer-facing formula is:
Dimensional change (%) = (after-wash measurement − before-wash measurement) ÷ before-wash measurement × 100
With this convention, a negative result means shrinkage and a positive result means growth. Some laboratories report the sign in the opposite direction, so always state the formula on the report rather than comparing percentages without context.
6. Review appearance as well as measurements
A pass on length and width does not automatically mean the product is ready. Check seam puckering, leg or side-seam twist, pocket distortion, rib recovery, hood shape, surface pilling, hand feel, color transfer and decoration condition. Record these separately so a visually poor sample cannot disappear inside an average percentage.
Denim and hoodie measurement points that deserve attention
For jeans and other denim bottoms
- Waist, high hip and seat
- Front rise, back rise, inseam and outseam
- Thigh, knee and leg opening
- Fly, pocket opening and waistband alignment
- Leg twist, seam torque and panel symmetry
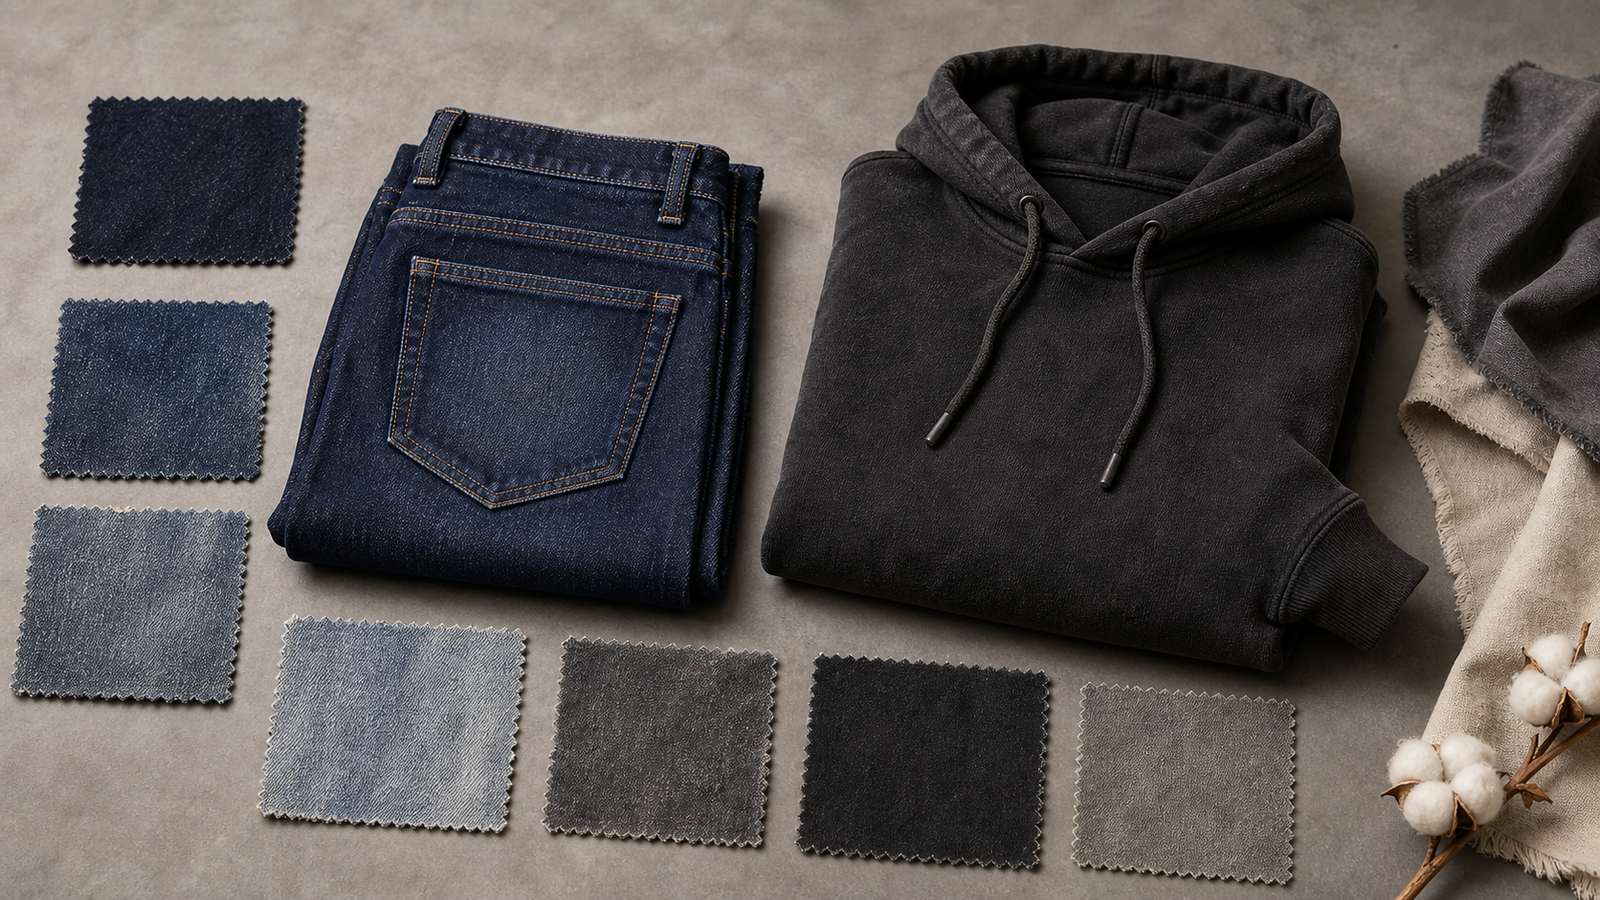
Denim results depend on fiber content, weave, stretch, mill finishing and the final garment wash. Raw, rinse-washed, enzyme-washed and other finishes should not share one assumed result. If a wash finish is required, approve its visual target and dimensional behavior together. ZEKA works with long-term professional washing factories for specialized washing processes; the washing is not represented as an in-house operation.
For fleece and French terry hoodies
- Body length, chest width, shoulder and sleeve length
- Hood height, hood opening and neckline shape
- Cuff and waistband height, width and recovery
- Kangaroo-pocket width, height and position
- Side-seam balance, hem sweep and zipper alignment when applicable
Hoodies combine main fabric, rib, pocket layers, hood lining, thread and sometimes zippers or drawcords. Components can change at different rates. Pair this test with an appropriate fabric GSM and blend review instead of using GSM alone as a quality shortcut.
What is an acceptable shrinkage percentage?
There is no universal percentage that is acceptable for every garment. The correct tolerance depends on the product, fiber and fabric structure, intended fit, care method, number of cycles, market requirements and buyer specification. Test standards provide a repeatable method; they do not replace the brand’s pass/fail criteria.
A better approval question is: after the agreed care cycle, do all critical measurements remain within the post-wash specification, and does the garment still match the approved fit and appearance? Set separate limits for length and width and, when necessary, for key components such as rib or waistband. Do not average a large failure in one measurement with a small change elsewhere.
A practical approval workflow for apparel brands
- Set the test requirement in the tech pack. Name the method or write the full wash-and-dry condition, cycle count, formula and measurement points.
- Test before pattern or fit approval when possible. Early fabric data allows pattern compensation or a finishing change before bulk fabric is cut.
- Confirm the finished sample. Use a size and color that represent the production risk. Add more sizes or lots when the order, fabric or fit risk justifies it.
- Record corrective action. Possible actions include fabric finishing, pattern adjustment, rib change, wash-process adjustment, care-instruction revision or material replacement.
- Gate bulk release. Attach the approved report to the sample approval record and make unresolved failures visible before cutting.
This sequence fits naturally into a broader garment sample production process. For washed products, also compare options in our garment washing techniques guide.
Shrinkage test checklist for a tech pack or purchase order
- Style, size, color and sample-stage identification
- Fabric composition, construction, GSM and lot reference
- Pre-treatment or garment-wash status
- Test standard or complete wash-and-dry procedure
- Number of cycles and conditioning requirement
- Before-and-after measurement table with stated formula
- Separate lengthwise and widthwise results
- Critical component checks for rib, waistband, lining and trims
- Appearance checks: twist, puckering, pilling, hand feel and color transfer
- Pass/fail tolerance, approver, date and corrective action
Common shrinkage-testing mistakes
- Using a supplier’s general fabric claim as a garment result. Construction and trims can change the final behavior.
- Testing a care cycle that differs from the planned label. The result then does not support the customer instruction.
- Reporting only one average percentage. Length, width and components can move differently.
- Testing after bulk cutting. At that point the most useful material or pattern corrections may be expensive.
- Ignoring growth and twist. Dimensional instability is not limited to shrinkage.
- Approving numbers without appearance review. A garment can measure within tolerance and still look distorted.
Frequently asked questions
How do you calculate garment shrinkage?
Measure the same point before and after the agreed laundering procedure. Using the convention in this guide: (after − before) ÷ before × 100. A negative result indicates shrinkage; a positive result indicates growth. Always state the formula because laboratory reports may use a different sign convention.
What percentage of garment shrinkage is acceptable?
No single percentage applies to every product. The brand should define pass/fail limits by measurement, direction, care method and cycle count. The finished garment must still meet its post-wash size and fit specification.
Is a fabric shrinkage test enough for hoodies or denim?
Not usually for final approval. Fabric testing is useful before cutting, but a finished-garment test captures the effects of seams, rib, waistbands, pockets, lining, thread, trims and garment washing.
How many wash cycles should a shrinkage test use?
Use the cycle count in the buyer specification or selected standard. One cycle can screen the first-use risk, while additional cycles may be needed to evaluate repeated-care behavior. State the count clearly and do not compare results from different cycle counts as if they were equivalent.
Does “pre-shrunk” mean a garment will not shrink?
No. Pre-shrinking or compacting is intended to reduce residual dimensional change, not guarantee zero change under every wash and dry condition. Verify the finished product under its intended care method.
Build dimensional control into your next production brief
Whether you are developing a low-MOQ launch or an established brand’s repeat program, shrinkage requirements should be agreed before bulk approval. ZEKA Apparel supports custom denim and hoodie production, sample development and measurable quality checkpoints, with specialized washing coordinated through long-term professional washing partners when required.
Send your tech pack, target fabric, wash reference, care method and size specification to discuss a practical sampling and shrinkage-testing plan for your next style.

 English