Garment samples are where your idea becomes a real product. They are also where most problems show up—fit issues, wrong fabrics, messy sewing, sizing mistakes, or details that look great on a sketch but fail in real life.
If you’re a fashion brand (or a buyer) working with a manufacturer, a clear sampling process will save you time, money, and stress. This guide walks you through the full garment sample production journey—from what to prepare before you start, to which sample types you actually need, to how to review samples like a pro, and how to give feedback that factories can act on fast.
Why garment sampling matters (more than you think)
Sampling is not just a “step before production.” It’s your risk-control system.
A strong sampling process helps you:
Prove the design can be made with real seams, real fabrics, and real construction methods.
Lock the fit and measurements so you don’t end up with a bulk order that runs small or large.
Confirm materials and trims so color, stretch, drape, hand feel, and durability match your goal.
Reduce costly mistakes before you cut hundreds or thousands of pieces.
Create a standard (a “gold seal” or approved sample) that production must match.
Skipping the right sample at the wrong time is one of the fastest ways to lose budget and miss your launch date.
What you need before sample production starts
Most sampling delays come from missing inputs. The factory can’t guess what you want, and they shouldn’t have to. If you want fewer sample rounds, start with the clearest package possible.
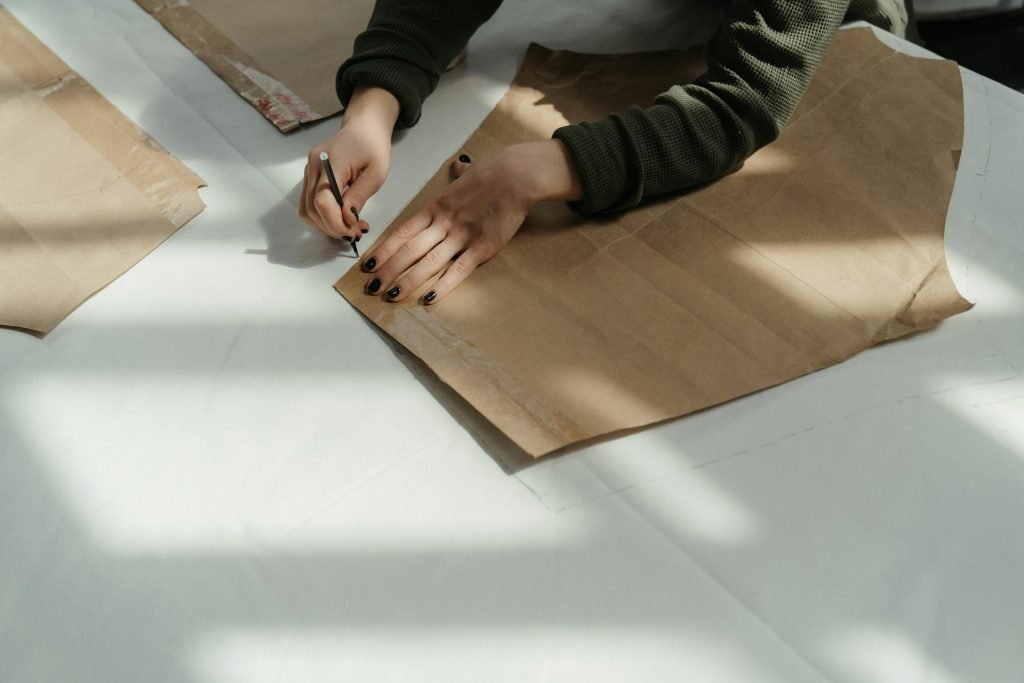
1) A tech pack (or at least a “minimum tech pack”)
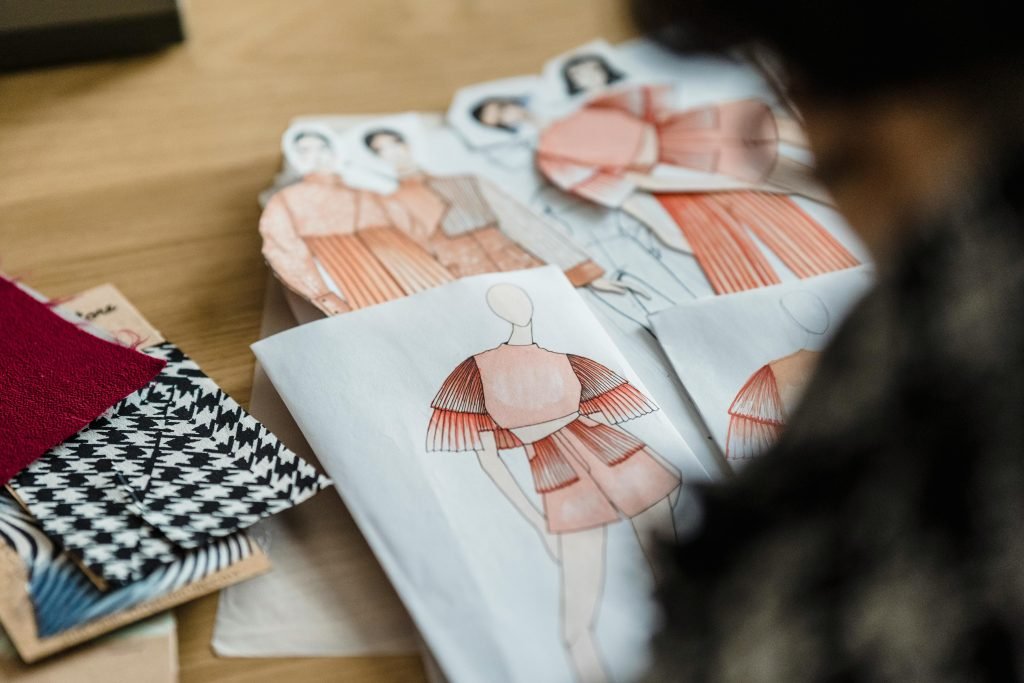
A full tech pack is ideal, but you can start with a simple version if you’re early-stage. At minimum, include:
Flat sketches (front/back, and key close-ups)
A measurement spec sheet (with base size)
Bill of materials (fabric, trims, labels, thread)
Construction notes (stitch type, seam type, finishes)
Artwork files (print/embroidery) with placement and size
Color information (Pantone or lab dip targets, if possible)
If you don’t have all of this, you can still begin—just expect more back-and-forth.Don’t know how to make a tech pack?You can check this video!
2) Your target price and target market
This is important. The same jacket can be made three different ways, and each way can land at a totally different cost. If you tell your supplier the target price range early, they can guide you toward the right fabric, trim options, and construction level.
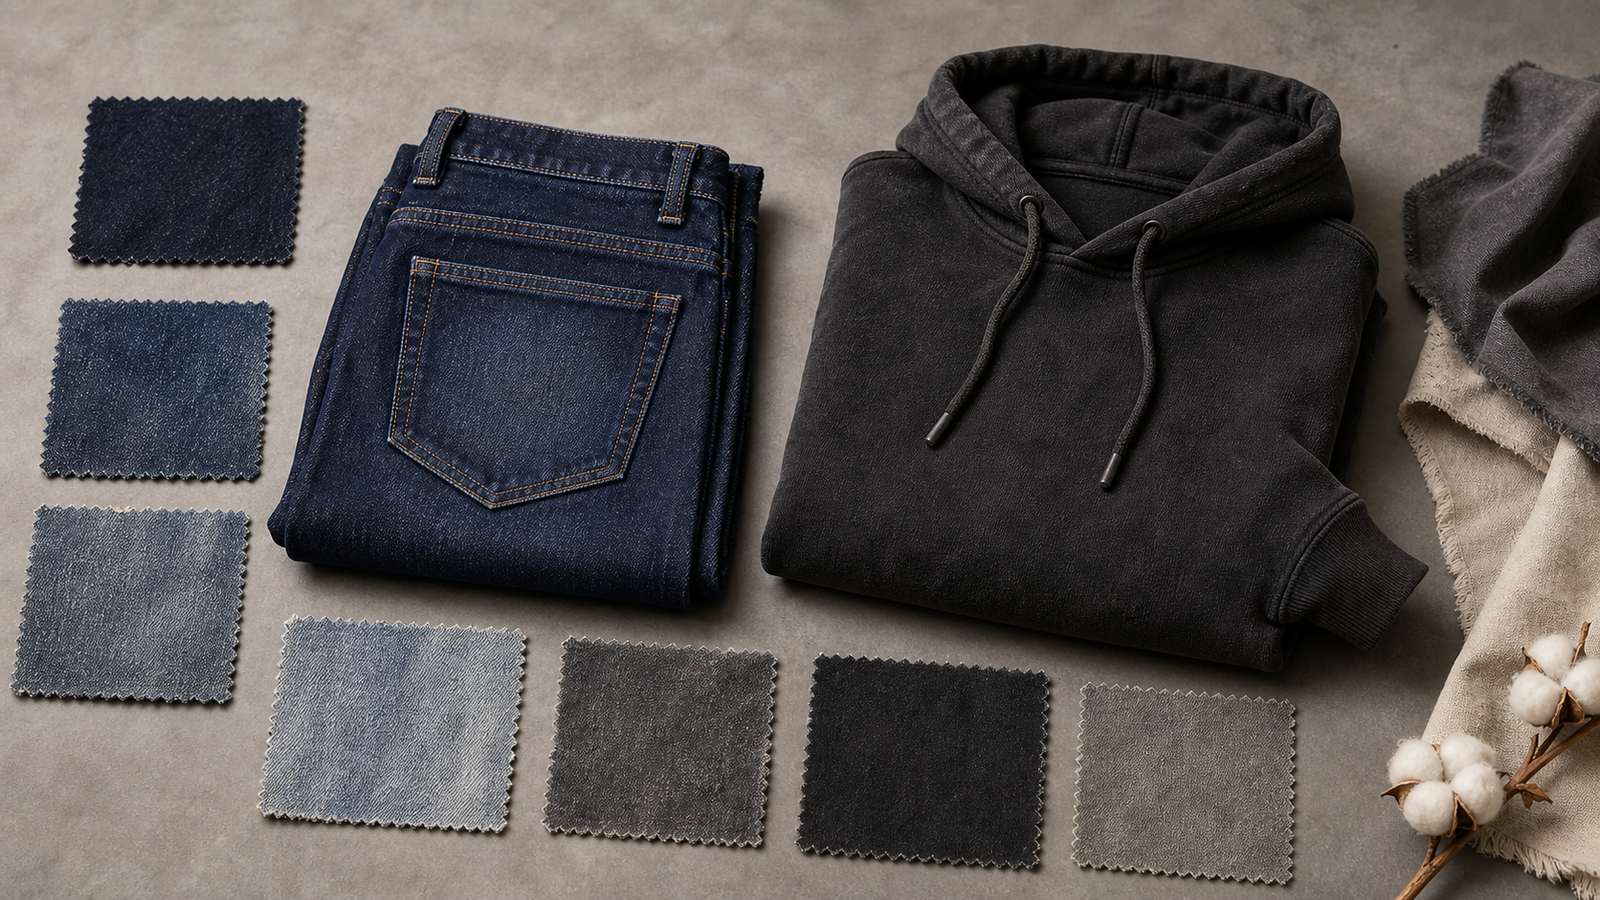
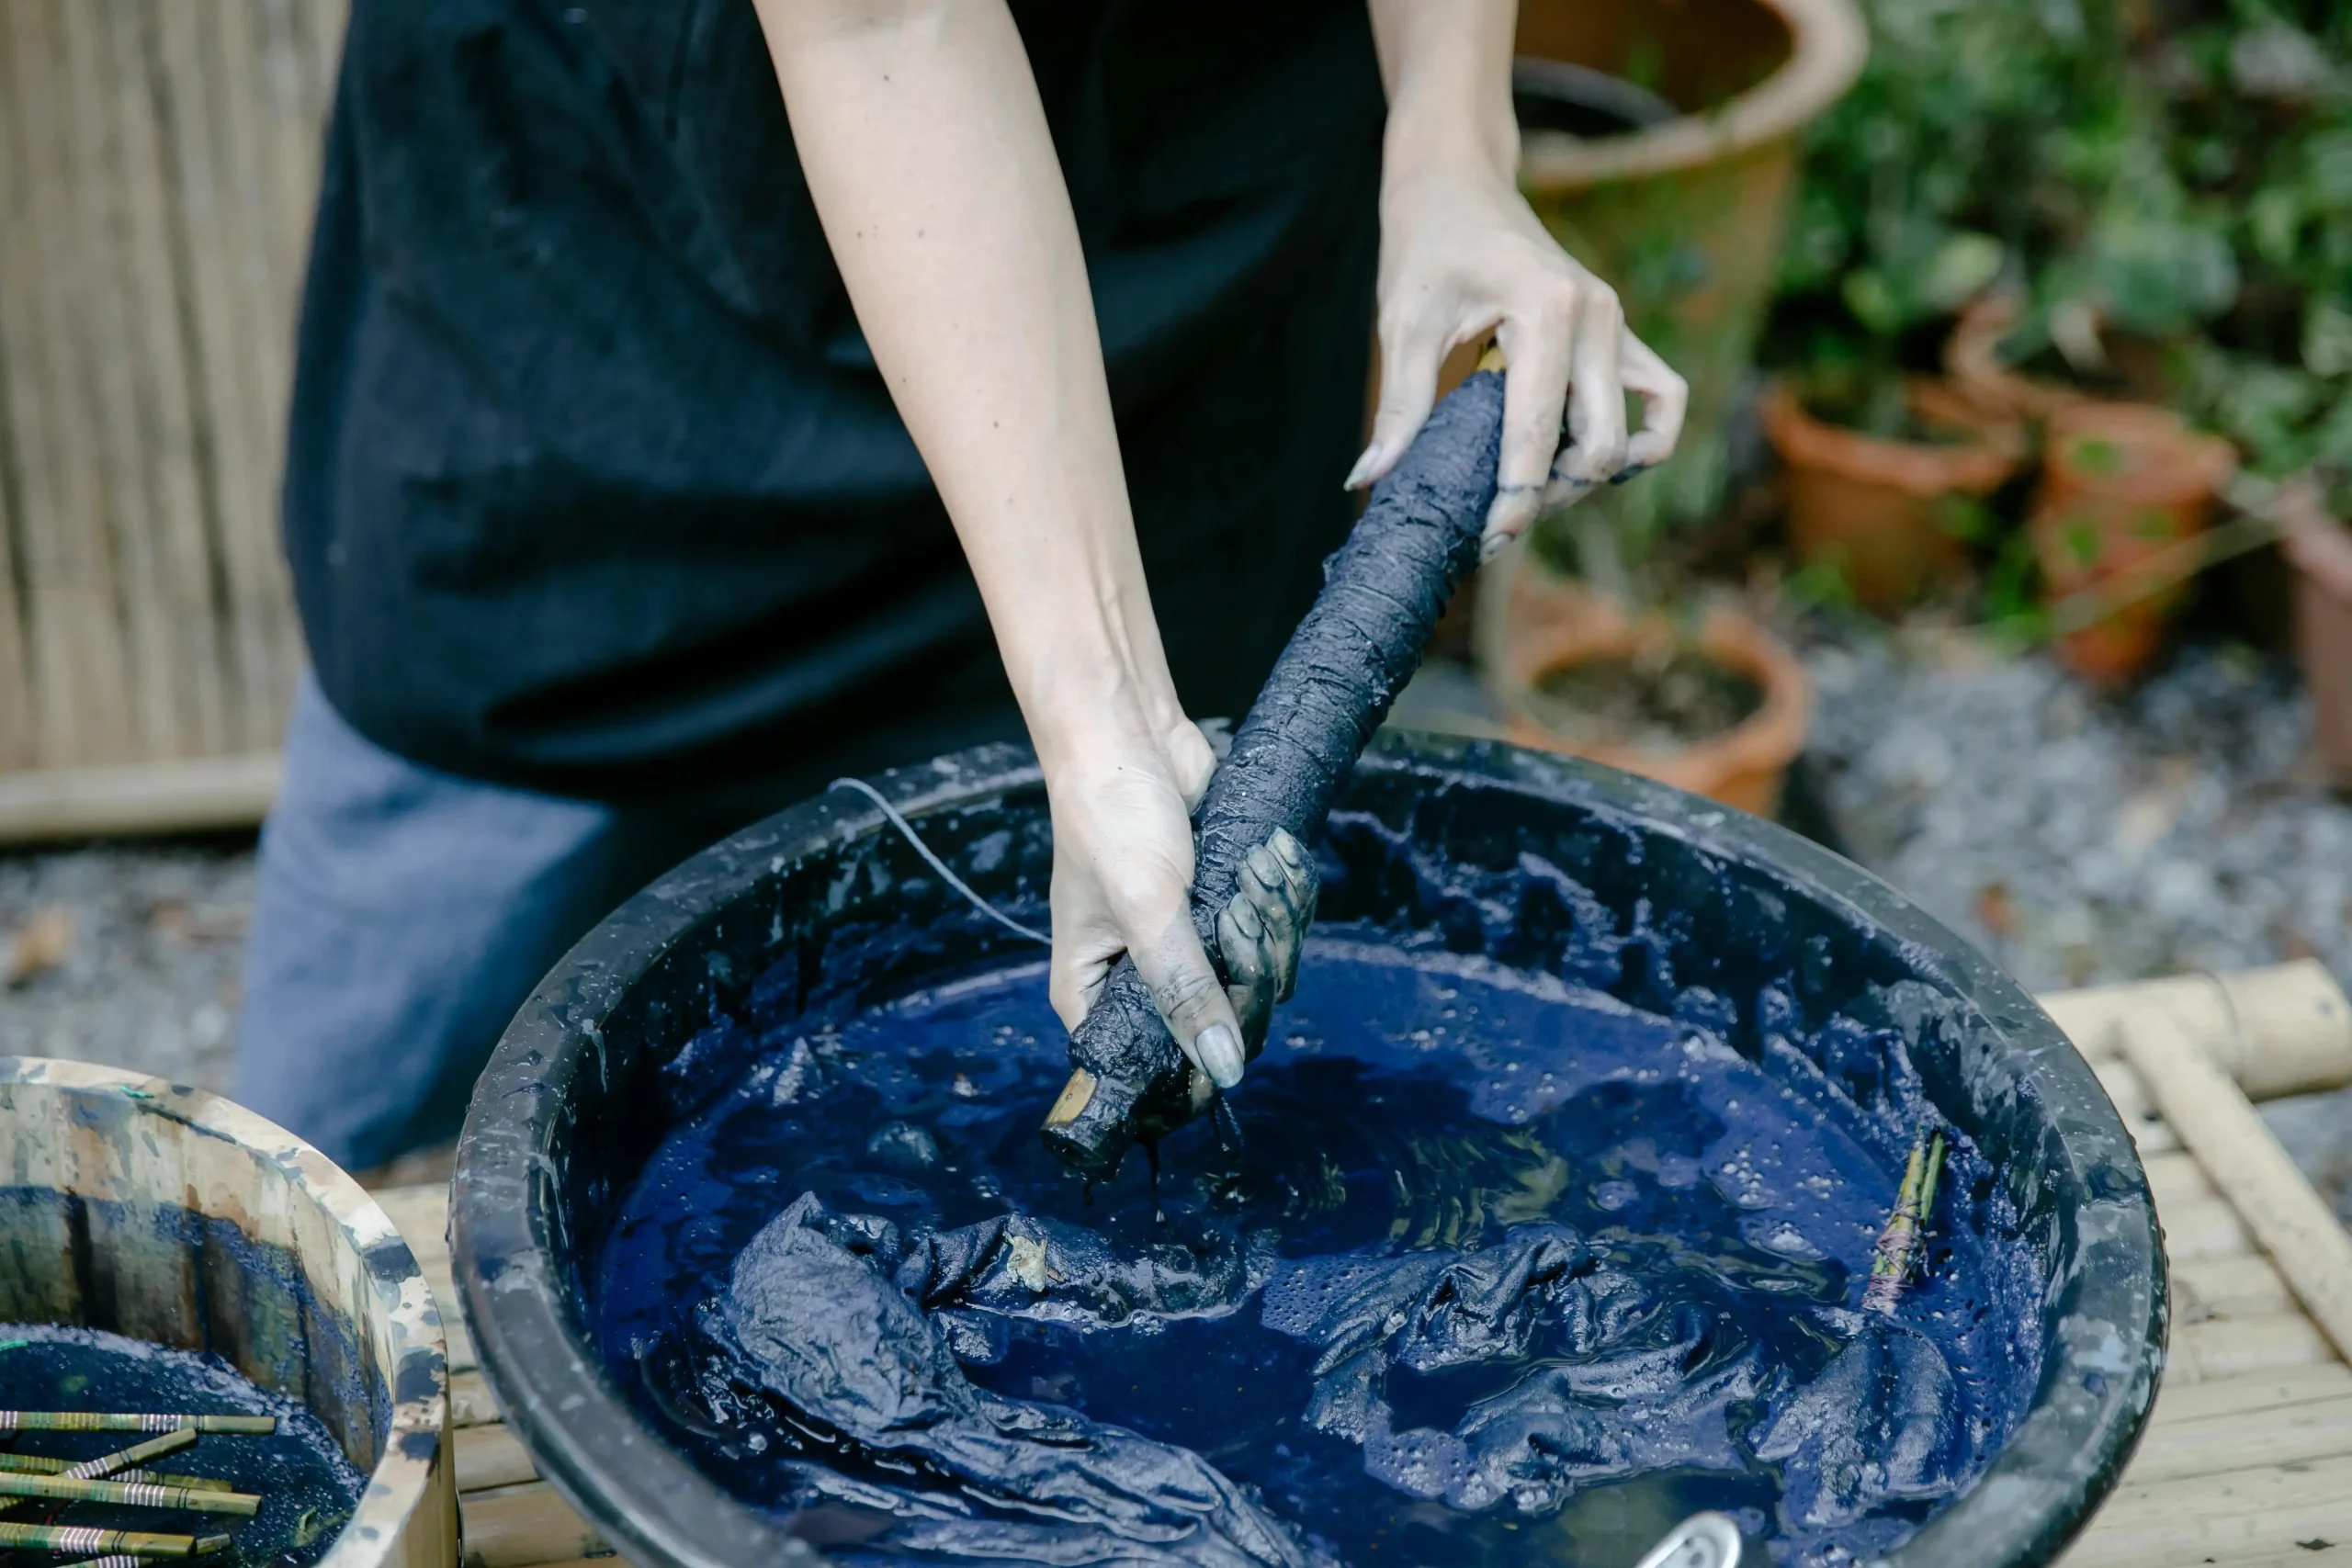
3) Fabric direction (or actual swatches)
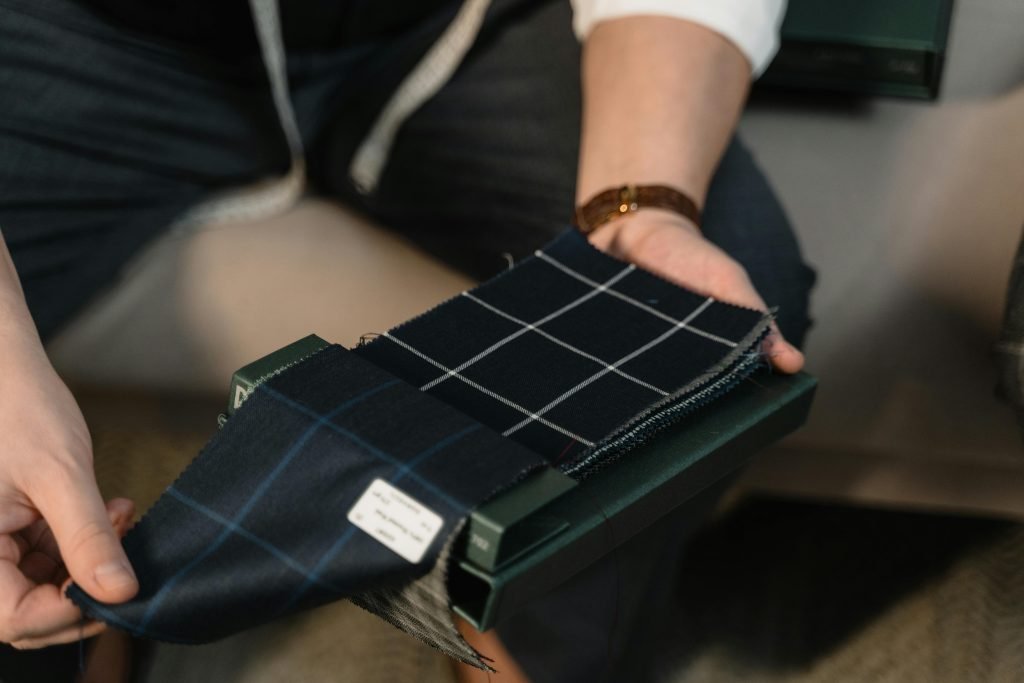
Fabric drives the garment. It affects fit, drape, comfort, shrinkage, and how seams behave.
If you don’t have exact fabric yet, share:
Fiber content (cotton/poly/nylon, etc.)
Stretch level (none / slight / high)
Hand feel goal (soft, crisp, heavy, brushed, etc.)
A reference link or photo of a similar fabric
4) Fit reference and base size
Brands often say “make it like Brand X,” but factories need a real fit baseline. Define:
Fit style (slim, regular, relaxed, oversized)
Fit model measurements (if you have them)
Any key fit priorities (more room at bicep, longer body length, higher rise, etc.)
Sample types explained (and what each one is for)
Not every brand needs every sample type for every style. But you do need the right ones at the right moments. Here’s a simple map:
1) Proto Sample (Prototype)
Purpose: Turn the idea into a physical garment and check overall shape and construction.
Proto samples are usually made fast. Fabric and trims might be substitutions. Don’t expect perfection—this sample is mainly for silhouette, design feasibility, and early pattern direction.
Review focus:
Does the silhouette match the sketch?
Are the key details possible to make?
Are any parts awkward or over-complicated?
2) Fit Sample
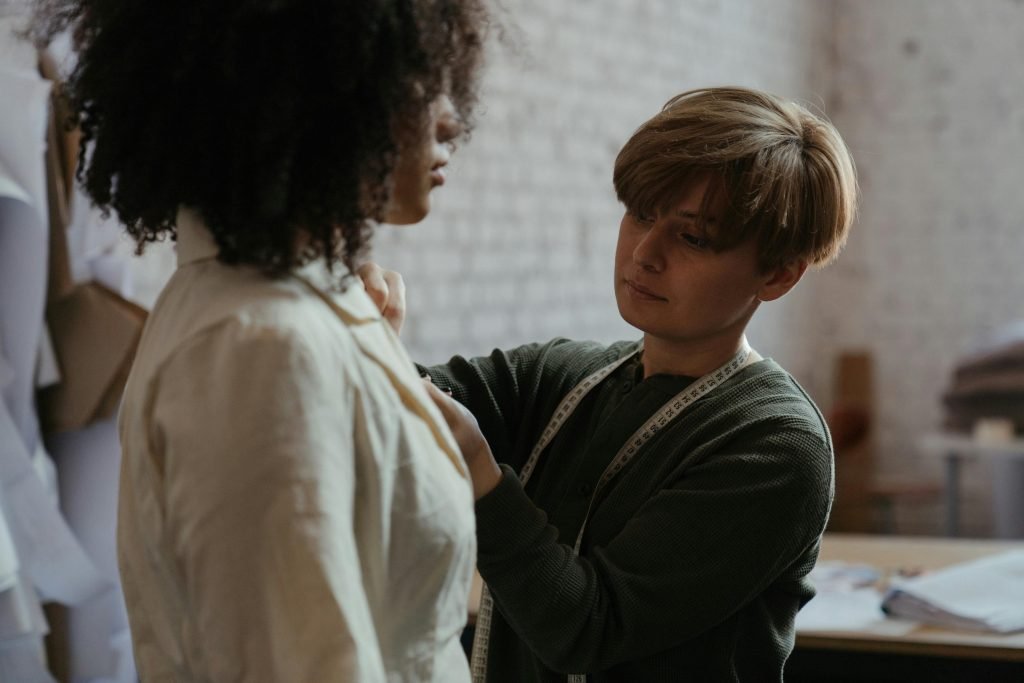
Purpose: Dial in fit and measurements.
Fit samples are where you should be strict. This is the stage that prevents bulk returns and angry customers.
Review focus:
Measurements vs spec (key POMs)
Fit on body (movement tests)
Balance and proportion (shoulders, sleeve pitch, rise, etc.)
3) Size Set (Size Run Sample)
Purpose: Confirm grading (how the garment changes across sizes).
If you sell in multiple sizes, this step helps prevent issues like “size S fits fine but XL feels weird” or “the sleeve gets too short in larger sizes.”
Review focus:
Key measurements across sizes
Fit consistency across sizes
Proportion scaling (pocket placement, logo size, etc.)
4) Salesman / Photo Sample (Optional)
Purpose: Used for sales meetings, showrooms, photo shoots, or pre-orders.
This sample is about appearance, not production detail. Some brands skip it, some brands rely on it heavily.
Review focus:
Visual quality
Styling readiness
Correct color and trims (as much as possible)
5) Approved Sample / “Gold Seal” Sample (Sometimes called Sew-By)
Purpose: Set the standard.
This is the sample everyone agrees is “the correct version.” Production should match this exactly.
Review focus:
Every detail must be confirmed
Construction methods must be clear
Measurements must meet tolerance
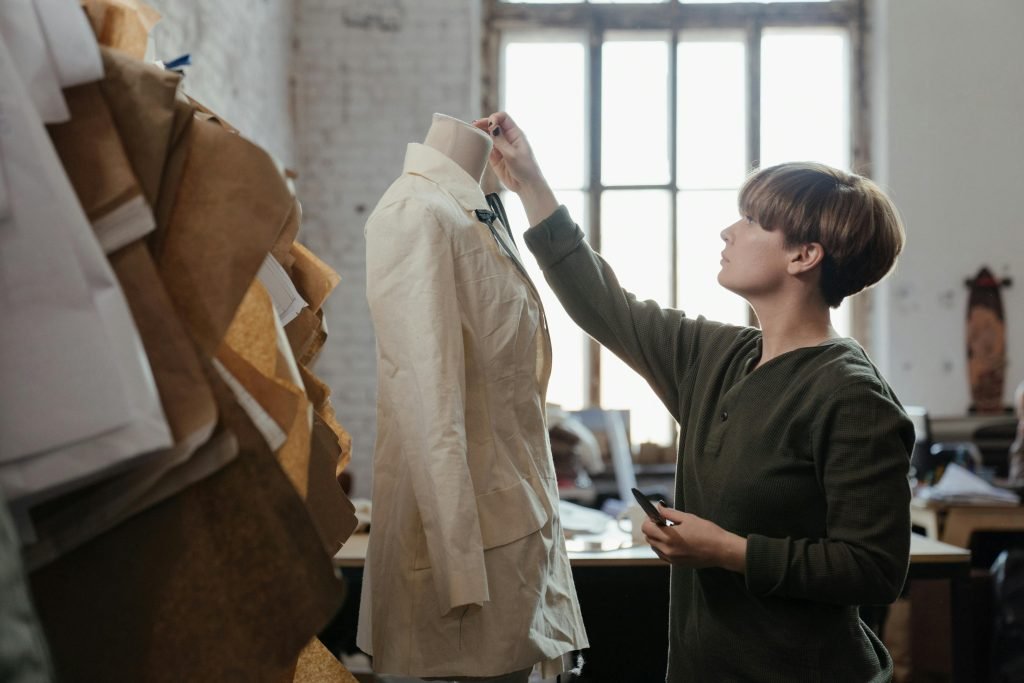
6) PP Sample (Pre-Production Sample)
Purpose: Final rehearsal before bulk.
PP samples should use the real production fabric and trims, and ideally be made under production-like conditions. It’s the last big checkpoint before you start cutting bulk fabric.
Review focus:
Production materials and colors
Final workmanship level
Final measurement check
Any last issues that could explode in bulk
7) TOP (Top of Production) / First Article
Purpose: Confirm the first pieces coming off the production line match the approved standard.
TOP is not always done as a physical shipped sample (sometimes it’s photo/video + measurement report), but it’s useful for quality control.
Review focus:
Matches gold seal / PP sample
Inline sewing quality
No early production drift
8) Shipment / Keep Sample
Purpose: A reference sample kept for future disputes or comparison.
If a buyer later says “this bulk order isn’t what we approved,” a keep sample helps resolve it quickly.
The step-by-step garment sample production workflow
Here’s what a healthy sampling workflow usually looks like:
Step 1: Alignment and feasibility check
You share tech pack + reference + target price. The supplier checks:
Pattern complexity
Fabric availability and lead time
Trim availability
Construction risk points
Timeline and sampling cost
A good supplier will flag problems early (like “this stitch doesn’t work on that fabric” or “that zipper is hard to source”).
Step 2: Pattern making
The factory pattern team builds the first pattern based on your spec sheet and fit direction. This is where clear measurements matter most.
Step 3: Proto sample (Round 1)
The sample room makes the first sample. You review:
Overall look
Key construction
Big design corrections
Step 4: Fit sample rounds (Round 2–3)
This is usually where most brands spend time. You review fit, update measurements, and request changes.
If your feedback is clear and measurable, many styles can be locked within 1–2 fit rounds.
Step 5: Size set (if needed)
Once the base size is correct, grading is applied to other sizes and checked.
Step 6: Approved / gold seal sample
You confirm the final “standard” sample. This becomes the reference for production.
Step 7: PP sample
Made with production materials and details, and checked carefully before bulk.
Step 8: TOP / inline checks (optional but smart)
Early production confirmation helps prevent surprises later.
How to review a garment sample (the 5-step method)
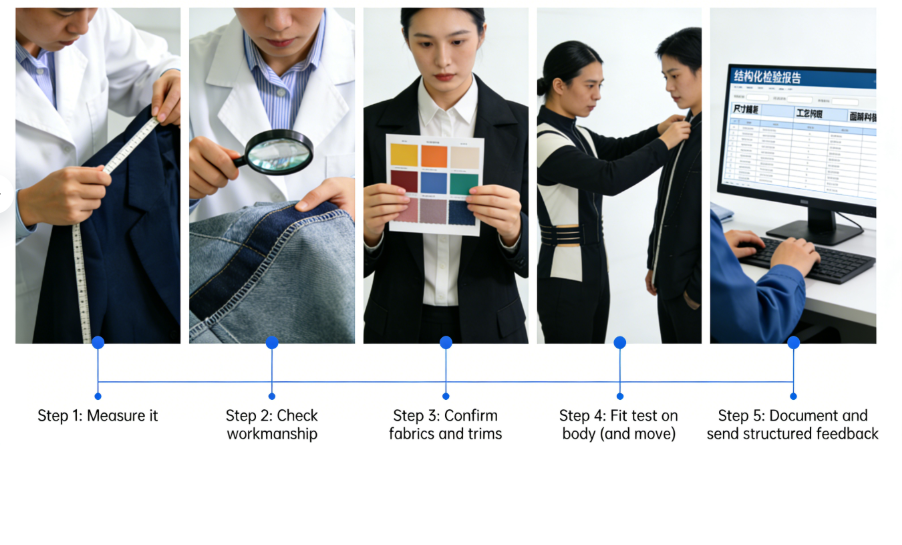
When you receive a sample, it’s easy to get distracted by small things. Use a consistent routine.
Step 1: Measure it
Start with measurements. If a garment fails key measurements, fit won’t be right.
Use a flat table, don’t stretch the garment
Measure in the same way every time
Compare to your spec sheet
Record the difference and mark pass/fail based on tolerance
Pro tip: If time is limited, measure only the key points: chest, body length, shoulder, sleeve length, waist/hip, inseam/rise (if pants).
Step 2: Check workmanship
Look closely at seams, stitching, and finishing.
Are stitches even?
Any skipped stitches or loose threads?
Are seam allowances consistent?
Does the inside finishing look clean?
Any puckering, twisting, or pulling?
Small workmanship issues in sampling can become big in bulk if they aren’t corrected.
Step 3: Confirm fabrics and trims
If the fabric is a substitute, write it clearly in your notes. Don’t approve bulk until you’ve reviewed the real material.
Check:
Fabric hand feel and weight
Stretch and recovery
Color accuracy (lab dips if needed)
Zippers, buttons, snaps, drawcords
Labels (main, care, size)
Step 4: Fit test on body (and move)
A fit sample that looks okay standing still might fail when you move.
Try:
Raise arms
Sit down
Bend forward
Walk naturally
Zip/unzip, button/unbutton, use pockets
Write comments in a simple “what + where + fix” format:
“Sleeve opening too tight at wrist. Increase by 1.0 cm.”
“Neckline too high. Lower by 0.8 cm.”
“Waist too loose. Reduce by 1.5 cm total.”
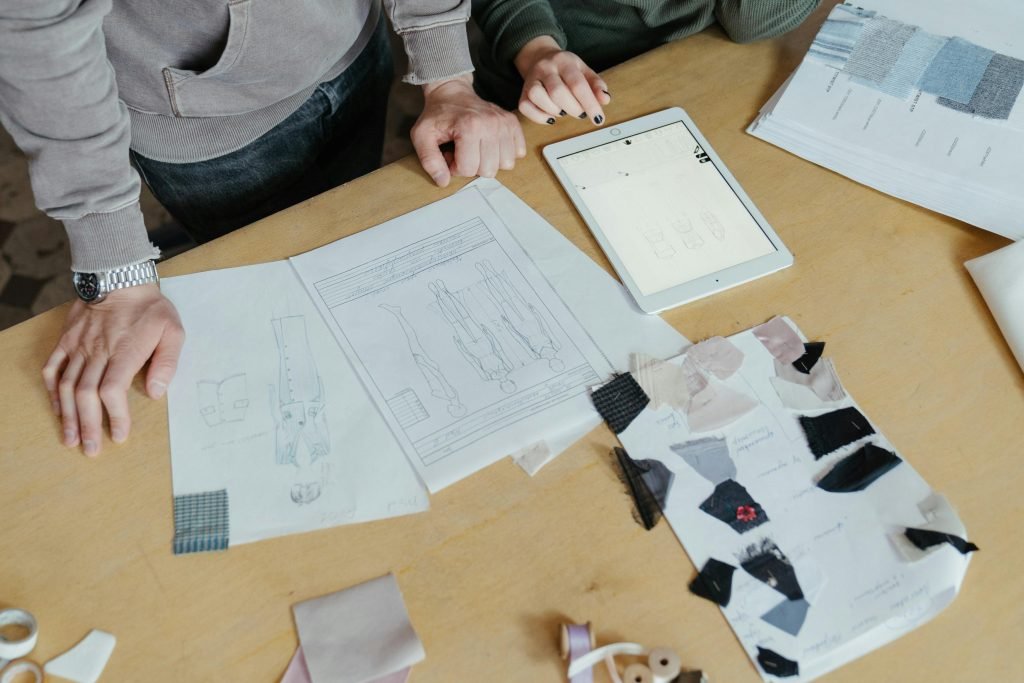
Step 5: Document and send structured feedback
Factories move faster when your feedback is organized. Don’t send five separate messages with random notes.
Instead:
Use one comment sheet
Attach labeled photos
Mark up images with arrows and notes
Keep a revision log so nothing gets lost
Feedback that factories can act on (and how to reduce sample rounds)
If you want speed, give factory-friendly feedback.
1) Use numbers whenever possible
Bad: “The sleeve feels weird.”
Better: “Sleeve length is 2.0 cm long. Reduce by 2.0 cm.”
2) Say exactly where
Bad: “The pocket is off.”
Better: “Move left pocket opening 1.5 cm toward side seam.”
3) Separate “must fix” from “nice to have”
A factory needs to know what is critical for the next round.
Must fix: blocks approval
Should fix: important, but can be done later
Nice to have: optional if time allows
4) Keep all changes in one place
Use a revision log. If a change isn’t written down, it gets missed.
5) Avoid last-minute design changes during PP
PP is not the time to redesign. It’s the time to confirm the final product. Big changes here usually mean delays.
Timeline and cost: what affects sampling speed the most
Every style is different, but here are the biggest factors:
1) Style complexity
A basic tee can move fast. A lined jacket with multiple pockets, zippers, and heavy fabric will take longer.
2) Fabric and trim lead time
If your chosen zipper or fabric needs to be imported or custom dyed, sampling slows down.
3) Tech pack clarity
Missing measurements or unclear construction notes lead to extra rounds.
4) Your feedback speed
Fast feedback = fast progress. Many sampling timelines are stretched simply because comments arrive late.
5) Number of rounds
Many brands expect 2–3 rounds. With clean communication, some styles can be locked in fewer rounds.
Common sampling mistakes (and how to avoid them)
Mistake 1: Approving a sample made with substitute fabric
Substitute fabric can behave differently. Your bulk garment can come out tighter, looser, shinier, heavier, or more distorted.
Fix: Don’t approve bulk until you’ve reviewed a sample made in production fabric (often the PP sample).
Mistake 2: Skipping PP sample to “save time”
PP is your last real checkpoint before bulk. Skipping it can cost more time later if bulk has issues.
Fix: Use PP as a final rehearsal.
Mistake 3: Sending vague feedback
Vague feedback causes confusion. Confusion causes wrong changes. Wrong changes cause extra rounds.
Fix: Use measurable language and photos.
Mistake 4: Changing too many things at once without priorities
If everything is “urgent,” nothing is clear.
Fix: Label changes as must/should/nice.
Mistake 5: Not keeping a record
People forget. Teams change. Threads get lost.
Fix: Keep one revision log for every style.
A simple sampling system you can use immediately
If you want a process that stays clean even when you’re busy, use this routine:
One sample comment sheet per round
One revision log that tracks every requested change
A shared folder with labeled photos (Round 1, Round 2, PP, etc.)
A single approval statement when you approve (“Approved for PP” / “Approved for bulk”)
This system is simple, but it prevents most sampling chaos.
Ready to start sampling with a supplier who understands B2B standards?
If you want your next sample round to move faster—with clear communication, clean construction, and fewer surprises—send your tech pack and target price through ZEKA Apparel.
We work with fashion brands and buyers supplying the US and European markets, and we can help you choose the right sampling path (proto, fit, size set, PP) based on your product category, timeline, and budget.
Visit our website to request a quote and start your sample development today.