It is the day you have been waiting for. The package from the factory finally arrives at your doorstep. You grab a knife, slice open the tape, and pull out the prototype for your brand’s new hoodie.
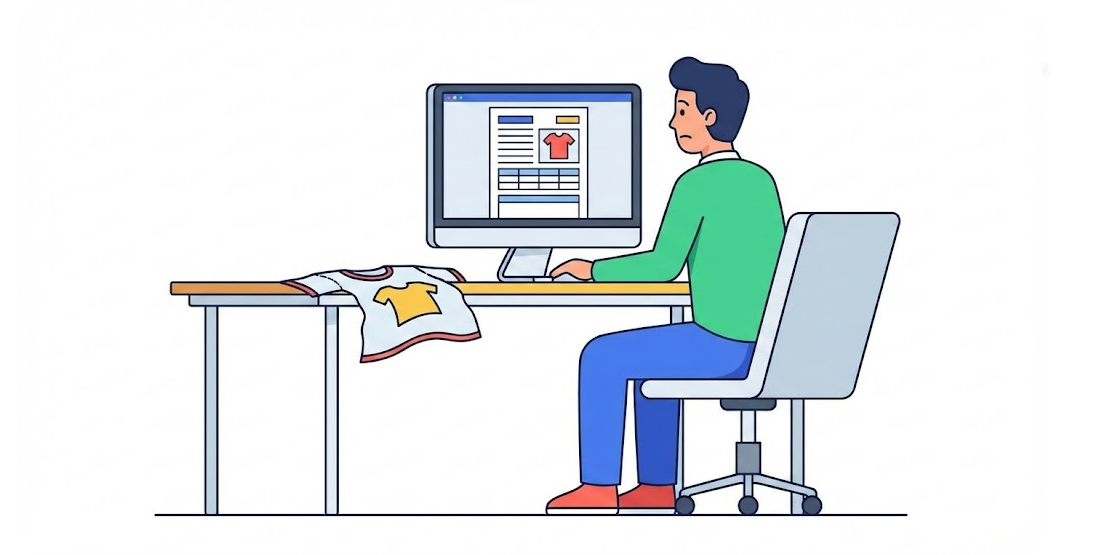
Your heart sinks.
The fabric feels thin and cheap—not the heavy, luxury feel you imagined. The hood is too small to fit over a head comfortably. And the logo? It is sitting two inches lower than it was in your design file.
You feel frustrated. You might even feel angry at the manufacturer. You think, “Why couldn’t they just make what I drew?”
As a clothing manufacturer, we see this scenario happen every single day. But here is the hard truth that most factories won’t tell you: The problem usually isn’t the sewing machine; it is the instructions.
In the fashion industry, those instructions are called a Tech Pack. Think of a Tech Pack as the blueprint for a house. If you give a builder a sketch of a house on a napkin, the roof might collapse. If you give a factory a vague design, your clothing line will fail.
The good news? You can fix these errors before you spend a single dollar on samples. In this guide, we are going to walk you through the 5 most common mistakes that break a Tech Pack, and exactly how to fix them.
And if you read to the end and feel overwhelmed? Don’t worry. We have a solution for that, too.
Mistake #1: The “Visual-Only” Trap (Where are the numbers?)
We live in a visual world. As a designer or creative director, you probably spend hours in Adobe Illustrator or Photoshop making your mockups look beautiful. You focus on the colors, the vibe, and the aesthetic.
But here is the catch: A manufacturer cannot sew a “vibe.”
One of the biggest mistakes we see is Tech Packs that contain only flat sketches (drawings of the garment) without detailed measurements. You might label a shirt as “Oversized Fit.” But “Oversized” means something very different in the US market compared to the Asian market.
How to Fix It: The Power of POM
To fix this, you need to understand POM, which stands for Points of Measure.
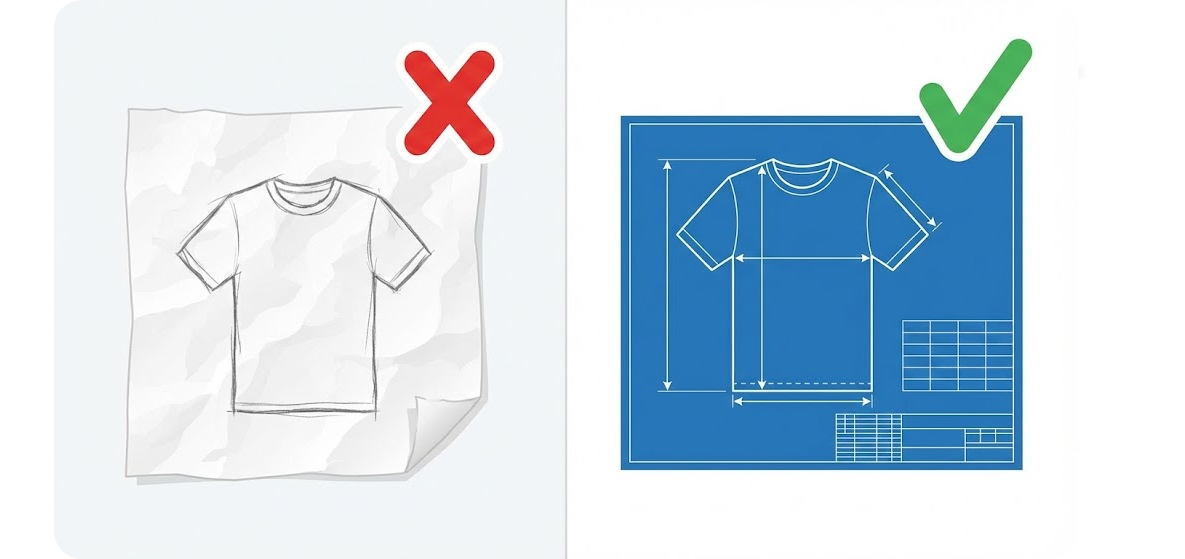
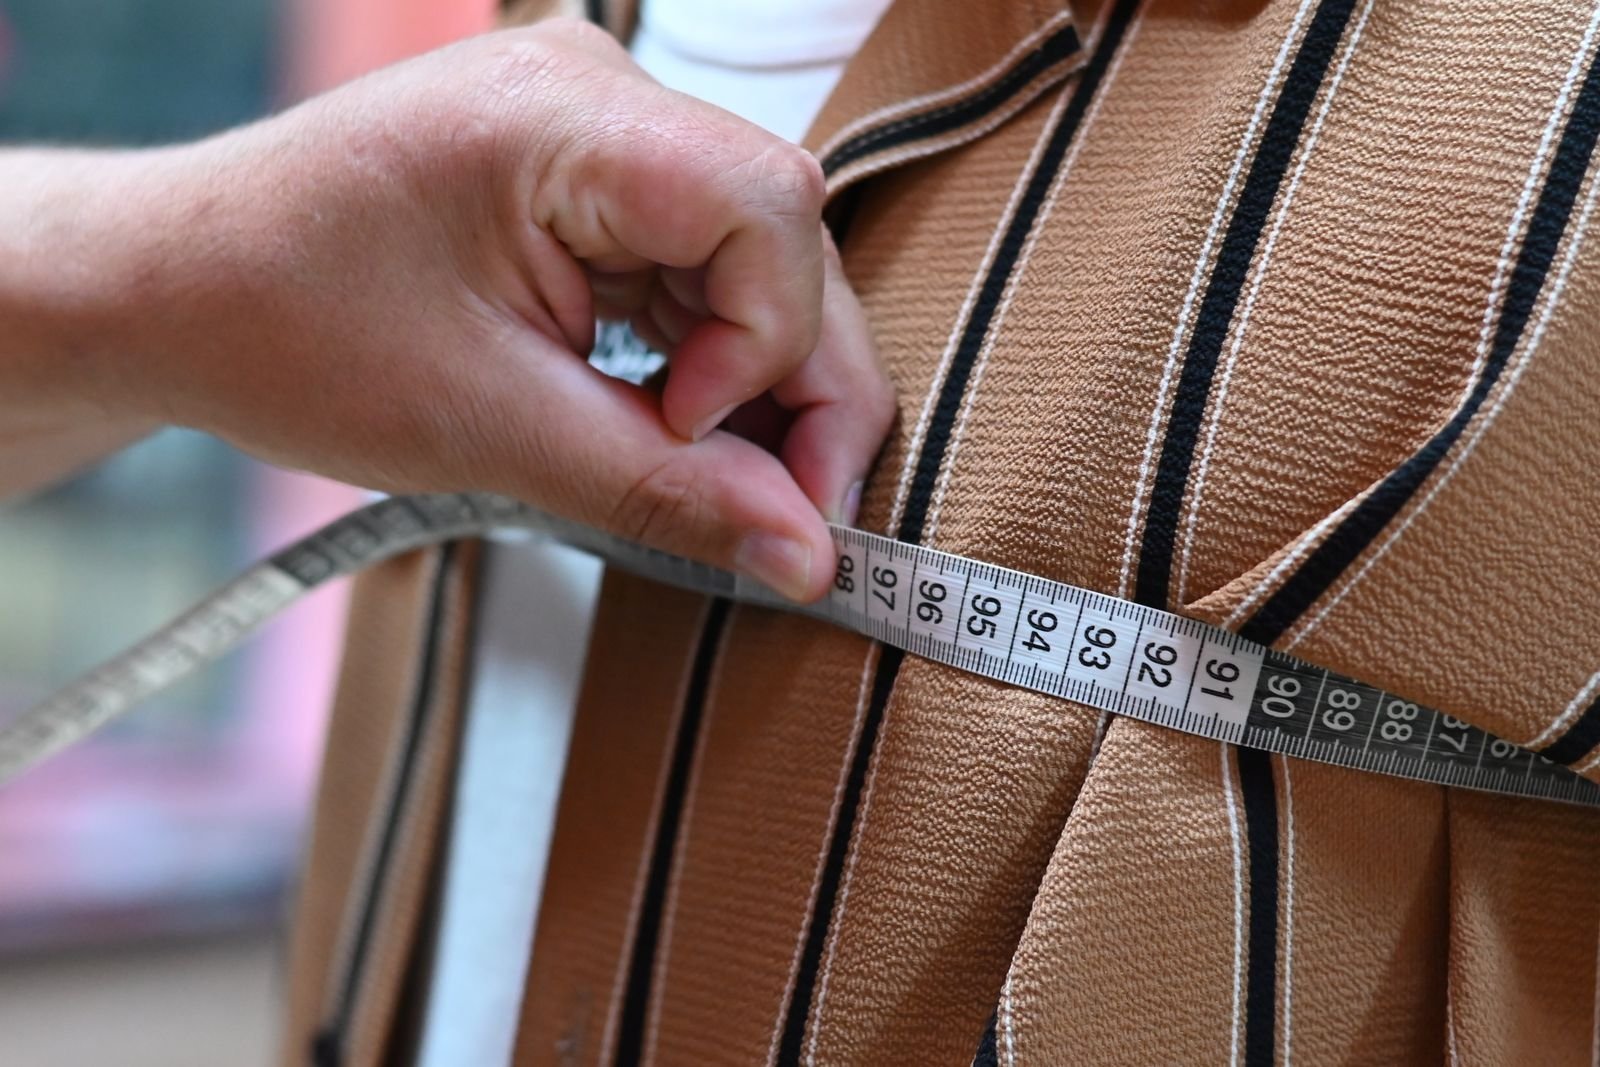
A professional Tech Pack needs a measurement chart that correlates to specific points on your garment. You can’t just say “Make the chest wide.” You need to specify:
Chest Width: 62cm (measured 2cm below the armhole).
Body Length: 74cm (measured from the High Point Shoulder).
Sleeve Opening: 14cm.
If you don’t provide these numbers, the factory will guess. And when a factory guesses, they usually default to a “Standard Fit” to save fabric, which kills the cool, boxy streetwear look you were aiming for.
Pro Tip: Not sure how to measure a garment correctly? Using the correct terminology is key so that we are speaking the same language. You can check out this guide on How to Measure a T-Shirt to understand the basics of standard measurement points.
Mistake #2: Vague Material Callouts (“Cotton” is Not a Specification)
Imagine going to a restaurant and ordering “Food.” The waiter brings you a salad, but you wanted a steak. You can’t be mad at the waiter, right?
The same logic applies to sourcing fabric. Writing “100% Cotton” on your Tech Pack is essentially meaningless.
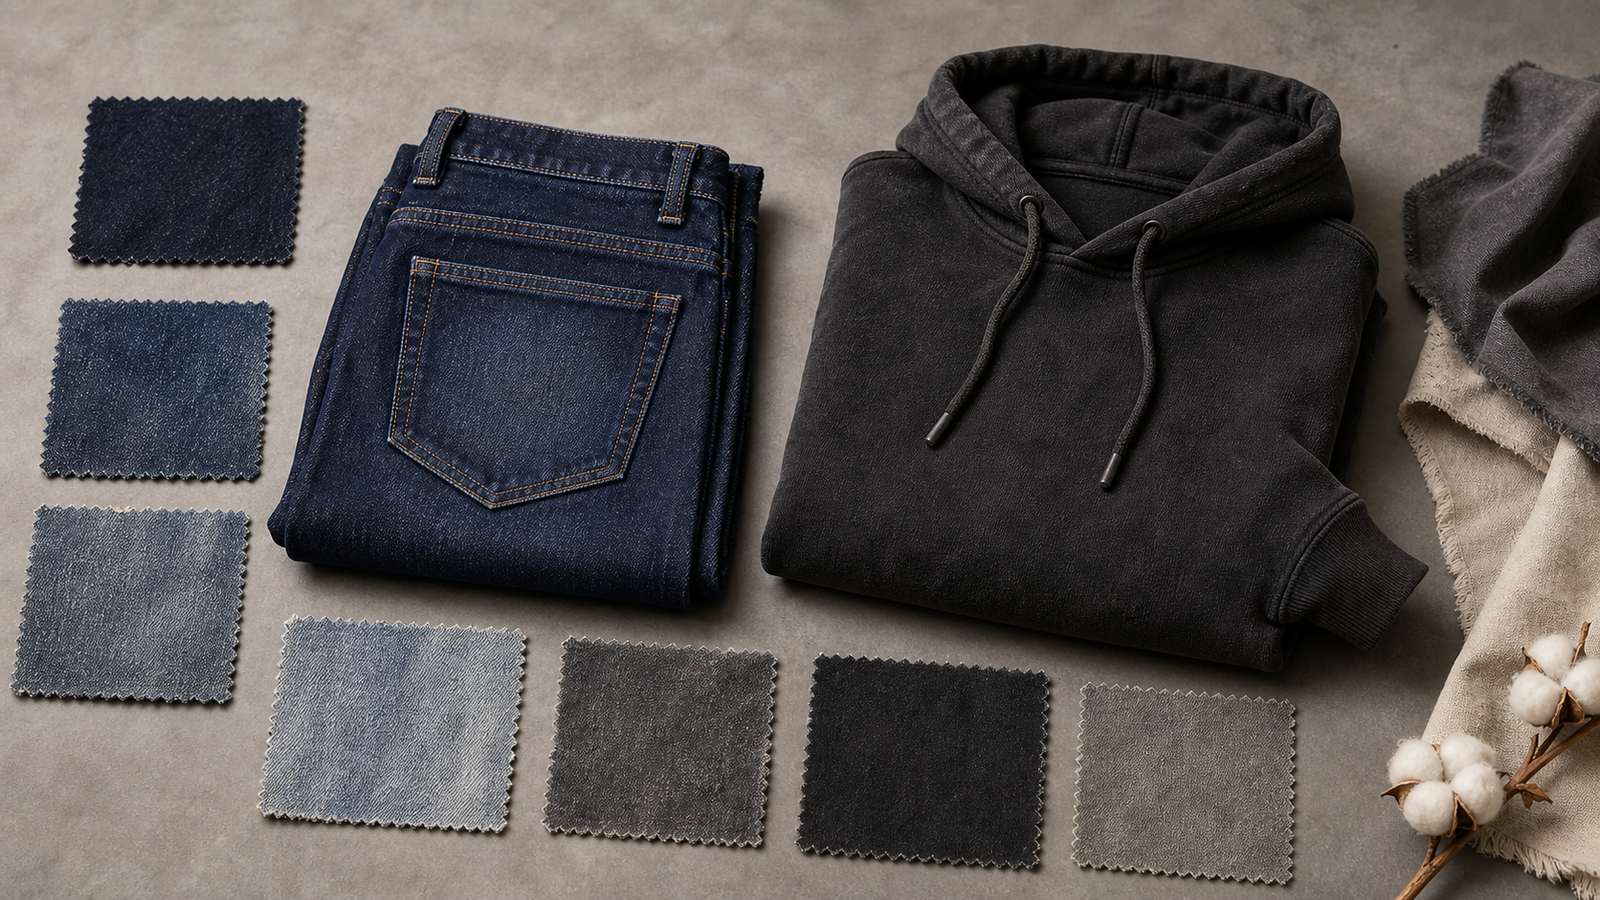
Cotton can be woven into a thin bedsheet, a sturdy denim, or a soft t-shirt. It can be cheap and rough, or combed and smooth. When new brands send us a file that just says “Cotton” or “Polyester,” it creates a massive delay. We have to email back and ask, “What kind of cotton?”
How to Fix It: Speak in GSM
The most important metric you are missing is GSM (Grams per Square Meter). This determines the weight and thickness of the fabric.
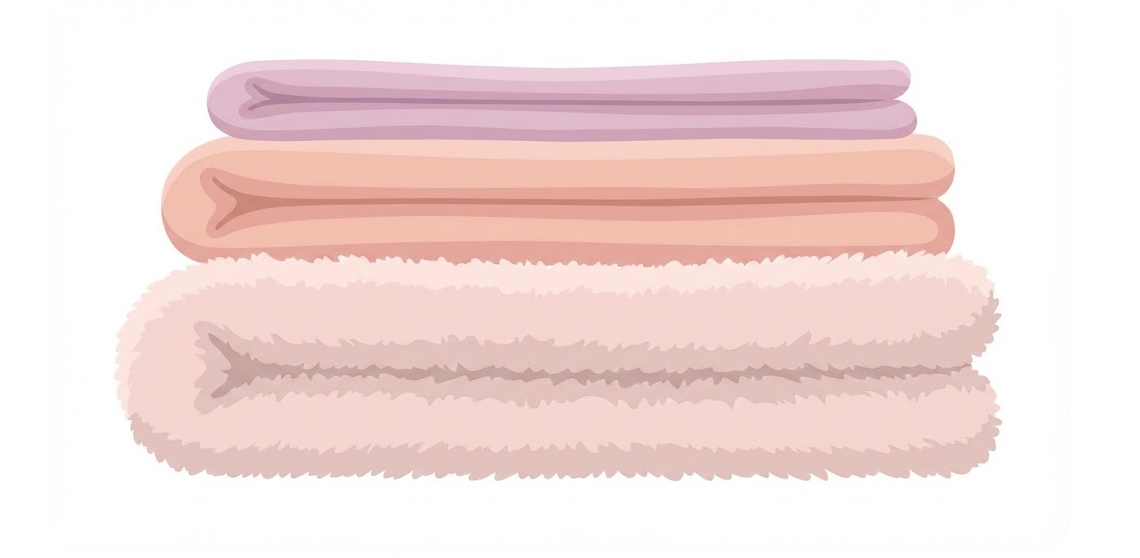
180 GSM: This is a standard, light t-shirt.
250 GSM: This is a heavy, high-quality streetwear t-shirt.
350-450 GSM: This is what you want for a high-end, structured hoodie.
If you want your brand to compete with top streetwear labels, you cannot ignore this number. If you leave it blank, a factory will often use the cheapest available option (usually around 280 GSM for hoodies) to keep the quote low.
Additionally, you need to specify the finish. Do you want the inside of the hoodie to be Loopback (French Terry) or fuzzy (Fleece)? These details change the warmth and the drape of the product entirely.
For a deeper dive into understanding fabric weights, Wikipedia’s entry on GSM offers a good technical breakdown of how fabric density works.
Mistake #3: Ignoring the “Invisible” Construction Details
When you look at a garment, you see the design. When a manufacturer looks at a garment, we see the stitches.
A common “Tech Pack breaker” is focusing 100% on the artwork (the screen print, the embroidery) and 0% on how the garment is actually put together.
For example, have you ever bought a shirt where the side seams twisted after one wash? Or a hoodie where the pocket started ripping off? That is bad construction. If you don’t specify the stitching method, the factory will use the fastest, cheapest method available.
How to Fix It: Define Your Stitching
You don’t need to be a tailor, but you should know a few basics to put in your file:

Overlock Stitch: The standard stitch for inside seams to stop fraying.
Double Needle Stitch: Often used on necklines and hems for durability.
Flatlock Stitch: A premium stitch often used in sportswear and streetwear because it lays flat against the skin and looks high-end.
Also, don’t forget the trims. What brand of zipper do you want? (We always recommend YKK for quality). What about the drawstrings? Are they cotton or polyester? Do they have metal tips (aglets) or plastic ones?
Listing these details prevents the factory from using generic, low-quality accessories that make your expensive jacket feel cheap.
Resource: If you want to see what these stitches look like visually, Sewing.org is a fantastic non-profit resource for understanding basic garment construction techniques.
Mistake #4: Forgetting the Grading Rules (The “One Size” Disaster)
You made a perfect sample in Size Medium. It fits great. So, you tell the factory: “Great, now make this in S, M, L, and XL.”
Production finishes, and you get the shipment. The Medium fits. But the Small is tiny, and the Extra Large looks like a tent—the sleeves are way too long, but the chest is tight.
What happened? You fell victim to bad Grading.
Grading is the mathematical formula used to shrink or grow a pattern into different sizes. Many beginners assume that if you make a shirt 2 inches wider, you should also make it 2 inches longer. That is incorrect. Human bodies don’t grow evenly in all directions.
How to Fix It: The Rule of Ratios
A proper Tech Pack must include a Grading Rule. For example:
Chest: +/- 2cm per size.
Length: +/- 1cm per size.
Neck opening: +/- 0.5cm per size.
If you don’t provide this, the factory will use their “Standard Grading,” which might be designed for a completely different body type (e.g., Asian sizing vs. US sizing). This is the number one reason for customer returns due to “bad fit.”
Mistake #5: Treating the Tech Pack as a Static Document
This is a communication mistake, not a technical one.
Let’s say you send “Tech Pack Version 1” to us. We make a sample. You receive the sample and say, “The sleeves are too short. Let’s add 2cm.” You tell us this over WhatsApp or WeChat.
We say “Okay.”
Two weeks later, you decide to change the fabric color. You send an email.
Three weeks later, we start bulk production. The sleeves are short, and the color is wrong. Why? Because the production manager on the floor is holding a printed copy of Tech Pack Version 1. They never saw your WhatsApp message.
How to Fix It: Version Control
The Tech Pack is the Bible of your production. It is the only source of truth. Every time you make a change—no matter how small—you must:
Update the Tech Pack document.
Rename it (e.g.,
BrandName_Hoodie_V2.pdf).Highlight the changes in red so the factory notices them.
Re-send the file and ask for confirmation.
This seems tedious, but it protects you. If you updated the file and the factory still got it wrong, the factory is responsible. If you just sent a text message? That is a gray area that usually costs you money.
The Hard Truth: Creating a Professional Tech Pack Takes Years to Master
If you have read this far, you might be feeling a little stressed.
You just realized that to make a simple hoodie, you need to know about GSM, French Terry vs. Fleece, Points of Measure, Grading Rules, Stitching types, and Tolerance limits.
That is a lot of work.
And let’s be honest: You didn’t start a clothing brand because you love Excel spreadsheets and technical diagrams. You started a brand because you have a vision. You want to create culture, design art, and build a community.
Every hour you spend Googling “how to calculate sleeve grading” is an hour you are not spending on marketing your brand or designing your next drop.
Furthermore, even if you try your best, a “DIY” Tech Pack often still has holes in it. Factories might reject it, or worse, they might guess on the missing details, leading to those expensive sampling errors we talked about earlier.
So, is there a better way?
The Solution: Stop “fixing” Tech Packs. Let us build them for you.
At ZEKA Apparel, we operate differently from traditional factories.
Most manufacturers will slam the door in your face if you don’t have a perfect, industry-standard PDF ready to go. They view you as a “high-risk” client.
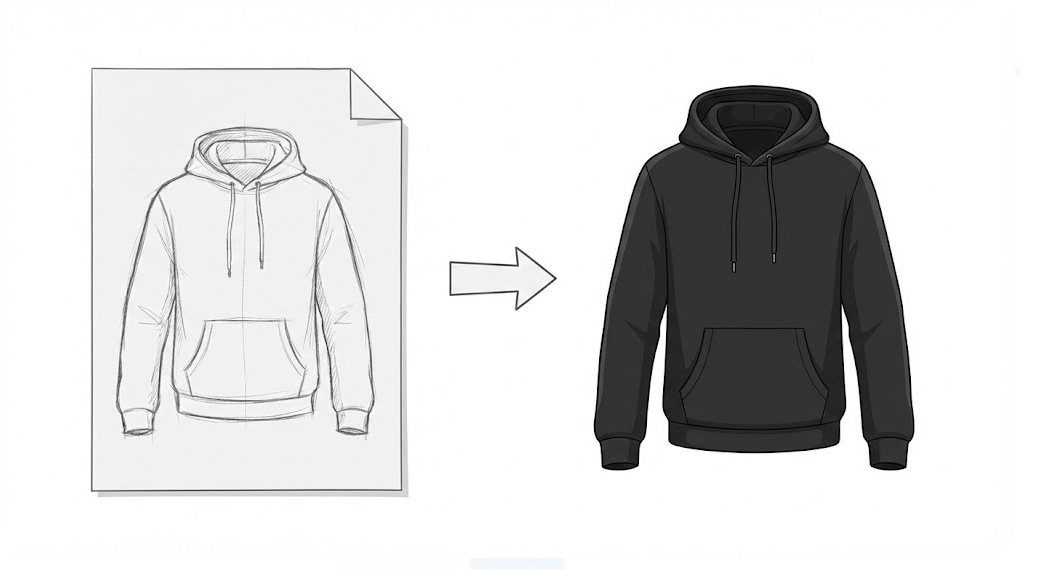
We view you as a partner.
We have developed a “Sketch-to-Sample” service specifically designed for independent brands and startups who have great ideas but lack technical experience.
How Our Service Works:
1. You Send the Vision Put away the complicated charts. Just send us what you have. This could be:
A rough sketch on a napkin.
A photo of a hoodie you like from Instagram.
A list of bullet points describing the fit (e.g., “I want a boxy fit like the Balenciaga hoodies”).
2. Our Experts Consult Our internal team—which includes experienced technical designers—will review your concept. We will advise you on the best fabric weight (GSM) for your market and the best printing techniques to achieve your look. We fill in the blanks that you didn’t even know were empty.
3. We Build the Tech Pack (So You Don’t Have To) This is the game-changer. Based on our consultation, we create the technical specifications internally. We generate the measurements, the grading rules, and the construction details. We translate your vision into the language of machinery.
4. Production Begins Once you approve the details, we move straight to sampling. No miscommunication. No “lost in translation” errors. Just a high-quality garment that looks exactly how you imagined it.
Why Struggle Alone?
The fashion industry is competitive enough. Don’t let a spreadsheet be the reason your brand fails to launch.
By letting us handle the technical side, you gain three things:
Accuracy: Our Tech Packs are made by the people who run the machines. They are error-proof.
Speed: You save weeks of time trying to figure out measurements yourself.
Peace of Mind: You can sleep easy knowing the zipper, the stitching, and the fit are being handled by pros.
Ready to start your production without the headache?
You don’t need a degree in fashion design. You just need a partner who understands it.
[Contact us here to upload your sketch or reference photo], and get a free consultation today. Let’s bring your vision to life—accurately.

 English